I have been making DIY cord wrappers for a while now. But all of the cord wrappers I have made up until now have involved sewing. I love these little projects because they are quick, easy and super useful. Mine saved me from terribly upsetting my 8 year old nephew, Jared. Jared was certain the iPad charger at my mom's house was his and no amount of dispute from me, my mom or my sister was going to convince him. But he looked at my cord wrapper and since I had made one for each of us using a different fabric, he was convinced. (He later remembered he didn't bring his with him that day and realized that he could just use mine.)
I have adapted my usual pattern to a no sew version. This is even quicker and easier! You only need a few supplies and you can put together several in no time at all.
Supplies:
2 - 2.25" x 4.5" rectangle of knit fabric (this is important so that the fabric won't fray)
1 - 2.25" x 4.5" rectangle of Heat 'n' Bond Ultra
1" Stick On Velcro square
Glue
Step 1: Iron on the Heat 'n Bond Ultra
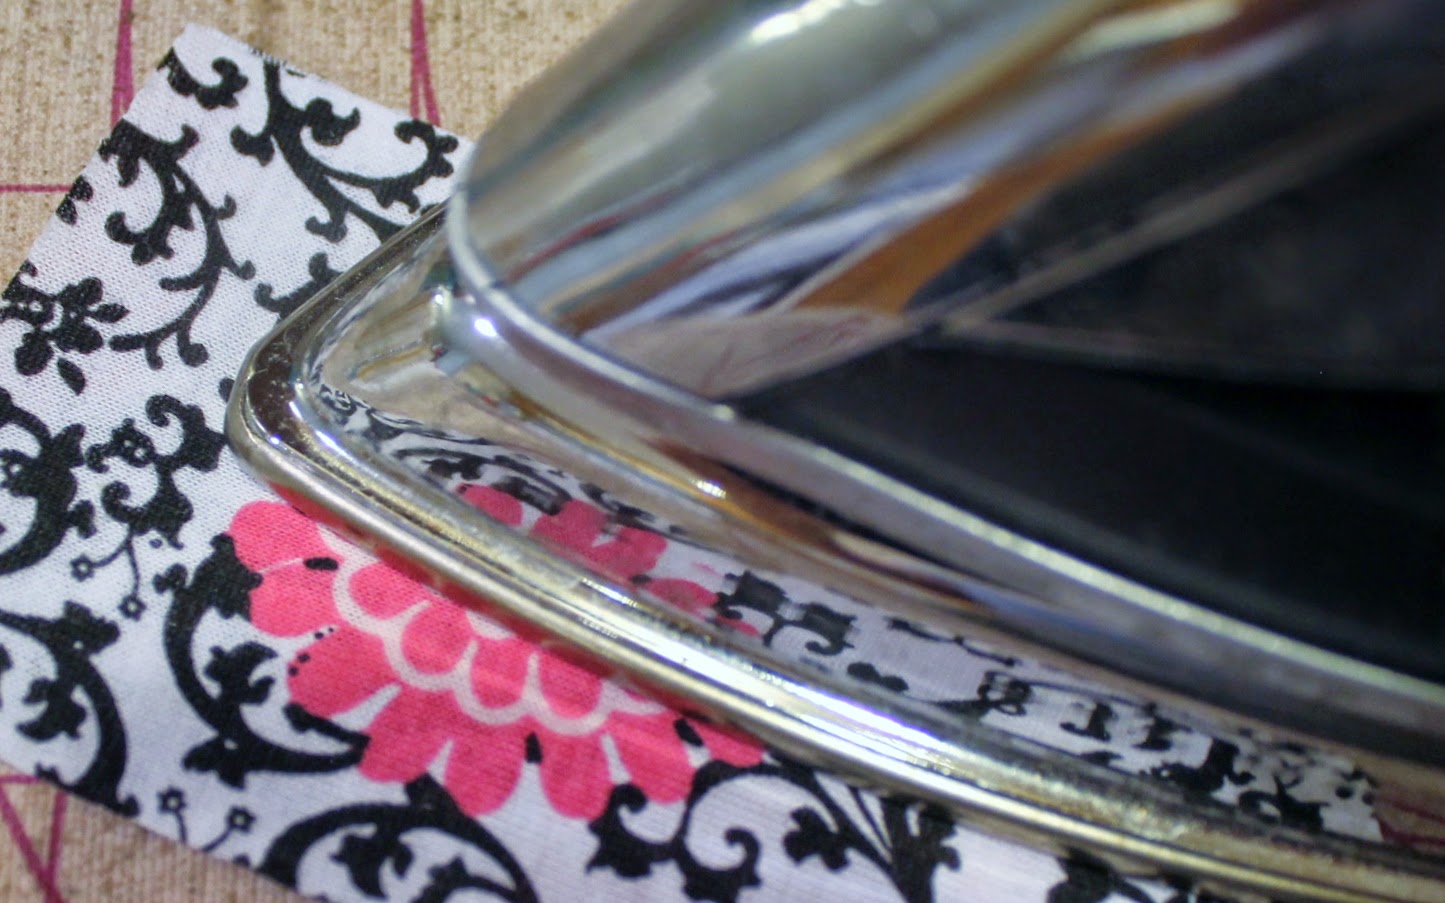
Carefully iron the Heat 'n' Bond Ultra to the back of one of the fabric rectangles. Let cool. Carefully peel the paper backing off of the Heat 'n' Bond Ultra.
Step 2: Attach Back
Iron the back of the other fabric rectangle to the Heat 'n' Bond Ultra. You should now have a rectangle with the right sides of your fabric on each side. Let cool.
Step 3: Attach the Velcro
Put a small amount of glue on the back of the Velcro pieces. I use Tacky Glue for this because it holds well. If you want to be able to wash your wrapper, you should use a glue especially made for washable fabric projects. Press the Velcro onto the wrapper about 0.5" from the end. Make sure the Velcro squares are on the opposite sides of the wrapper - one on the front and one on the back. Allow the glue to dry before using the wrapper.
Step 4: Trim the Edges
Trim the edges of the cord wrapper to make sure the sides are even. If you want, you can trim the corners or you can leave them square.
Optional Step 5: Make it "Always On"
You can stop the project after step 4 and have a finished usable cord wrapper. However, I like to keep mine on the cord at all times so that I don't lose it. It is just a small piece of fabric and would be very easy to misplace or forget if I were to take it off every time I use the cord. In my regular wrappers, I use button holes to serve this purpose. In the no sew version, we just need to cut two slits in the body of the wrapper!
Fold the wrapper in half. Carefully, cut two slits in the body of the wrapper about 0.5" away from the Velcro squares on each end of the wrapper. I find it easiest to cut one slit and then flip the wrapper over, fold in half length wise again, and then cut 0.5" away from the Velcro on the same side as the Velcro. You should have about 1" in between the slits. The slits needs to be long enough to slide the smaller end of your cord through. I usually cut mine about 1" long to ensure most cords will fit.
And you are done! I've made these all different sizes and shapes to fit the needs of whoever will be using the wrapper. My current favorite sewing design is an hourglass shape. It seems to hold the cord well and looks nice. Thanks for visiting!
-Kasey


No comments:
Post a Comment