Tuesday, May 27, 2014

DIY 4th of July Infant Dress

Every year my family has a huge 4th of July celebration.  My extended family is very close, and it is not unusual for 30 of us to get together each month for a birthday party.  The 4th of July is even bigger than our usual get togethers.

One of the highlights of the day is our annual Patriotic Food Contest.  This translates to the prettiest red, white and blue desserts.  There is always a tremendous spread and it is a very fun event.  We usually end up with some controversy, however, because someone always thinks we should take taste into account.  We never do for practical reasons (really, how could we taste 30 different desserts and rate) but everyone's competitive spirit comes out and makes for some very memorable moments.

I am super excited this year that my little girl will be big enough to dress for the occasion.  Last year she was only a few weeks old and we spent the entire day nursing, so I didn't really get to show her off the way I would have liked.  That will not be the case this year.  In anticipation of the big party, I made her this red, white and blue dress.  We are proud Oklahomans so I added an applique of our great state in the bottom border.  I can't wait to show off Sophia and her new dress...just over a month to go!

Friday, May 23, 2014

No Sew "Always On" Cord Wrapper


I have been making DIY cord wrappers for a while now.  But all of the cord wrappers I have made up until now have involved sewing.  I love these little projects because they are quick, easy and super useful.  Mine saved me from terribly upsetting my 8 year old nephew, Jared.  Jared was certain the iPad charger at my mom's house was his and no amount of dispute from me, my mom or my sister was going to convince him.  But he looked at my cord wrapper and since I had made one for each of us using a different fabric, he was convinced.  (He later remembered he didn't bring his with him that day and realized that he could just use mine.)

I have adapted my usual pattern to a no sew version.  This is even quicker and easier!  You only need a few supplies and you can put together several in no time at all.

Supplies:
2 - 2.25"  x 4.5" rectangle of knit fabric (this is important so that the fabric won't fray)
1 - 2.25" x 4.5" rectangle of Heat 'n' Bond Ultra
1" Stick On Velcro square
Glue


Step 1:  Iron on the Heat 'n Bond Ultra
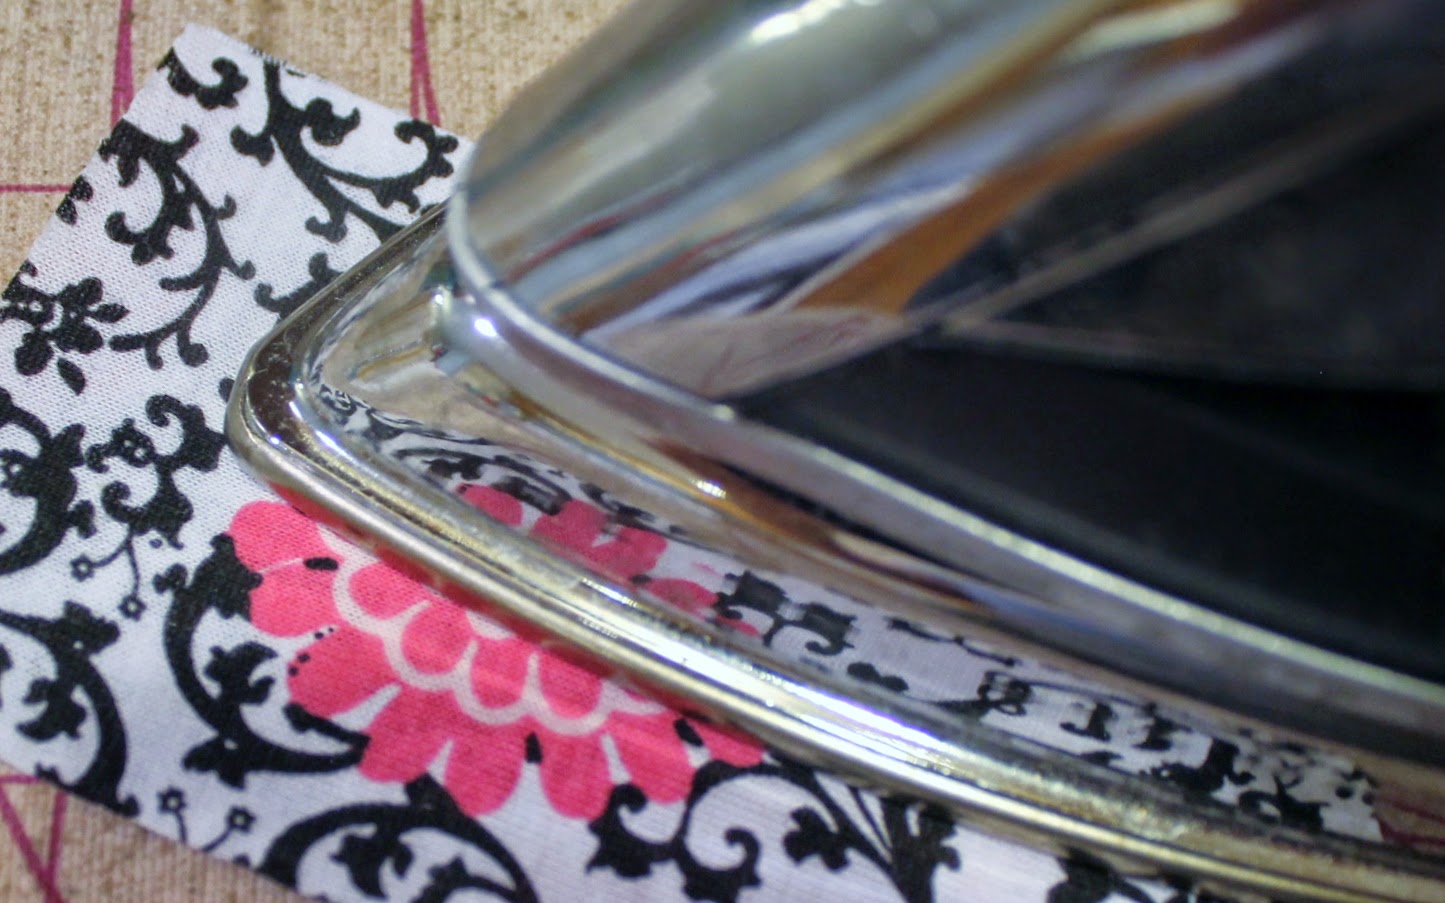
Carefully iron the Heat 'n' Bond Ultra to the back of one of the fabric rectangles.  Let cool.  Carefully peel the paper backing off of the Heat 'n' Bond Ultra.


Step 2:  Attach Back
Iron the back of the other fabric rectangle to the Heat 'n' Bond Ultra.  You should now have a rectangle with the right sides of your fabric on each side.  Let cool.


Step 3:  Attach the Velcro
Put a small amount of glue on the back of the Velcro pieces. I use Tacky Glue for this because it holds well.  If you want to be able to wash your wrapper, you should use a glue especially made for washable fabric projects. Press the Velcro onto the wrapper about 0.5" from the end.  Make sure the Velcro squares are on the opposite sides of the wrapper - one on the front and one on the back. Allow the glue to dry before using the wrapper.


Step 4:  Trim the Edges

Trim the edges of the cord wrapper to make sure the sides are even.  If you want, you can trim the corners or you can leave them square.


Optional Step 5:  Make it "Always On"
You can stop the project after step 4 and have a finished usable cord wrapper.  However, I like to keep mine on the cord at all times so that I don't lose it.  It is just a small piece of fabric and would be very easy to misplace or forget if I were to take it off every time I use the cord.  In my regular wrappers, I use button holes to serve this purpose.  In the no sew version, we just need to cut two slits in the body of the wrapper!

Fold the wrapper in half.  Carefully, cut two slits in the body of the wrapper about 0.5" away from the Velcro squares on each end of the wrapper.  I find it easiest to cut one slit and then flip the wrapper over, fold in half length wise again, and then cut 0.5" away from the Velcro on the same side as the Velcro.  You should have about 1" in between the slits.  The slits needs to be long enough to slide the smaller end of your cord through.  I usually cut mine about 1" long to ensure most cords will fit.


And you are done!  I've made these all different sizes and shapes to fit the needs of whoever will be using the wrapper.  My current favorite sewing design is an hourglass shape.  It seems to hold the cord well and looks nice.  Thanks for visiting!

-Kasey

Monday, May 19, 2014

DIY Easel Placecard Holders Tutorial

***Update: The blank palette below is now available for purchase.  Click this link to view.****


My church is getting into VBS mode as our annual event is quickly approaching.  Our VBS is scheduled for June 9 - June 13, 2014, so we don't have too much time left to create in anticipation.  We are using Cokesbury's Workshop of Wonders as our theme this year, and  we are busy coming up with ideas to transform our church into a workshop/art studio to engage the children who join us.

These adorable easels are going to be used as place card holders on our craft table.  The easels are very easy to assemble and very low cost.  I've cut out an artist's palette from cardstock to use as our place card.

DIY artist palette
Finished DIY Easel
Supplies:
  • Skinny Sticks - 3 and 1/2 sticks per easel - I cut the sticks in half using children's Fiskar scissors.  But watch out!  They fly if you aren't careful.  I found these at Wal-Mart for $2.47.

Skinny Sticks
  • Tacky Glue
  • Hot Glue Gun and Glue Sticks

Step 1:  Assemble the frame
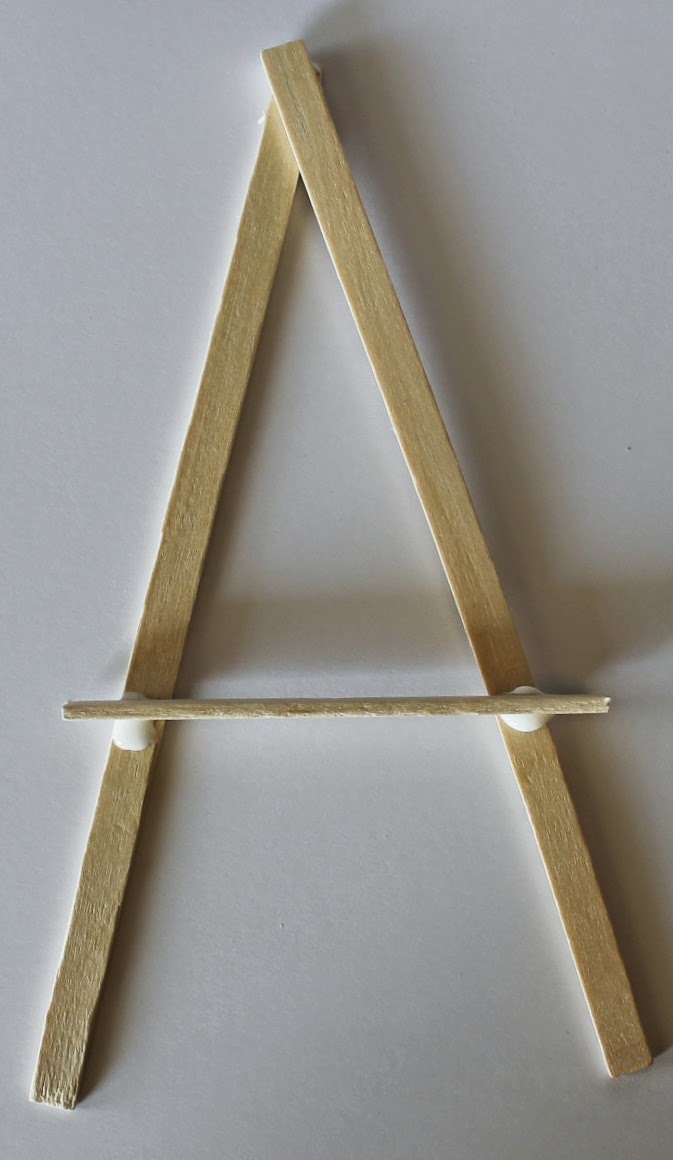
Place a dab of Tacky Glue near the top of one full length Skinny Stick.  Attach a second full length Skinny Stick as pictured below so that you form a V with about 3 inches between the open ends of the V.

Place Tacky Glue at end of full length stick
Ends should be 3" apart
 Step 2:  Add the Cross Bar
Place a dab of Tacky Glue about 2" up each of the Skinny Sticks as pictured below.  Attach the 1/2 Skinny Stick centered across the two dabs of glue with the skinny edge down.  The wider edge will hold your place card.  Once the Tacky Glue sets a little, carefully wipe/scrape off the excess glue.

Place glue about 2" from the bottom of each stick

Attach cross bar to the glue with the skinny edge in the glue
Step 3:  Wait
Wait to move the Frame and Cross Bar until after the glue has completely dried.  If you are in a hurry, you can use hot glue for all of these steps.  I prefer the Tacky Glue because I think it looks cleaner when it's finished, but hot glue is much, much faster so if you are in a hurry, that may be the way you want to go. 

Step 4:  Attach the Support Leg
Place a drop of hot glue on the back of the Frame where the two full length sticks meet.  Attach the support leg by holding the end of the third full length stick firmly against the hot glue you just placed until set.  The support leg should be positioned in the same direction as the two full length legs in the Frame.  You want the support leg to attach at about a 45 degree angle so that the easel is upright, but leaning back slightly so your place card will sit securely.

Put hot glue on the back of the frame to hold the support leg


Attach support leg at 45 degree angle from frame with stick in same direction as legs of the frame

And there you have it.  A simple and inexpensive decoration for your VBS craft table!

Finished DIY Easel
 Do you have any great ideas for the Workshop of Wonders VBS theme?  I would love to hear them!!!