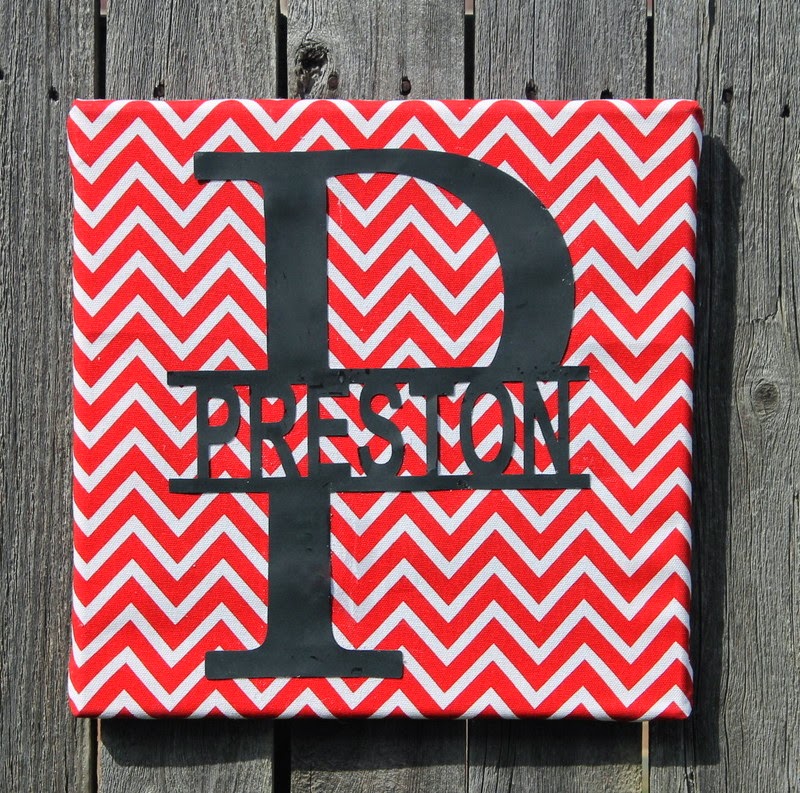
This is probably so far from the "right" way to do this, but it works and looks great on my son's wall :).
I bought 4 - 12" stretcher bars at Hobby Lobby and slide the ends together. After verifying that the frame was square. I then put a row of staples across each of the corners to help them stay in place. So many staples probably weren't necessary, but hey, I don't think it hurt anything either.
I then laid out my 15.5" fabric square face down. The fabric I used is a red chevron Duck fabric. I laid the frame in the center of the fabric, and then folded the top edge of the fabric over the top edge of the frame and put a staple in the center. I then did the same thing for the bottom - making sure the design was straight and that the fabric is pulled tight across the frame. I then did the same thing for each of the sides.
The next step was to fold the corners. Some people will probably have more luck with doing the corners as they go, but I couldn't get the fabric to stay tight that way. I basically folded the corners as if I were wrapping a present. Please forgive the many close up pictures here, but I wanted to be clear as this was the hardest part of the entire project.
After that, I put a few more staples in to make sure everything stayed put (again, undoubtedly way too many). I then glued a paper die cut of my son's name on the front! I have listed these split initial names in my etsy store. You can view it here, if you are interested.
So now instead of painting a canvas, I can easily make my own using inexpensive fabric from the craft store. Do you have any projects like this that you have made? Any tips you could share with me for my next attempt?
Kasey


No comments:
Post a Comment